Friday, January 15, 2021

1997 Lumina Kills Batteries

Violent headline. I have an older car here that consistently drains the battery while sitting overnight. Seems a good candidate for a walk-through of what I do to find the problem. Let's give that a try!

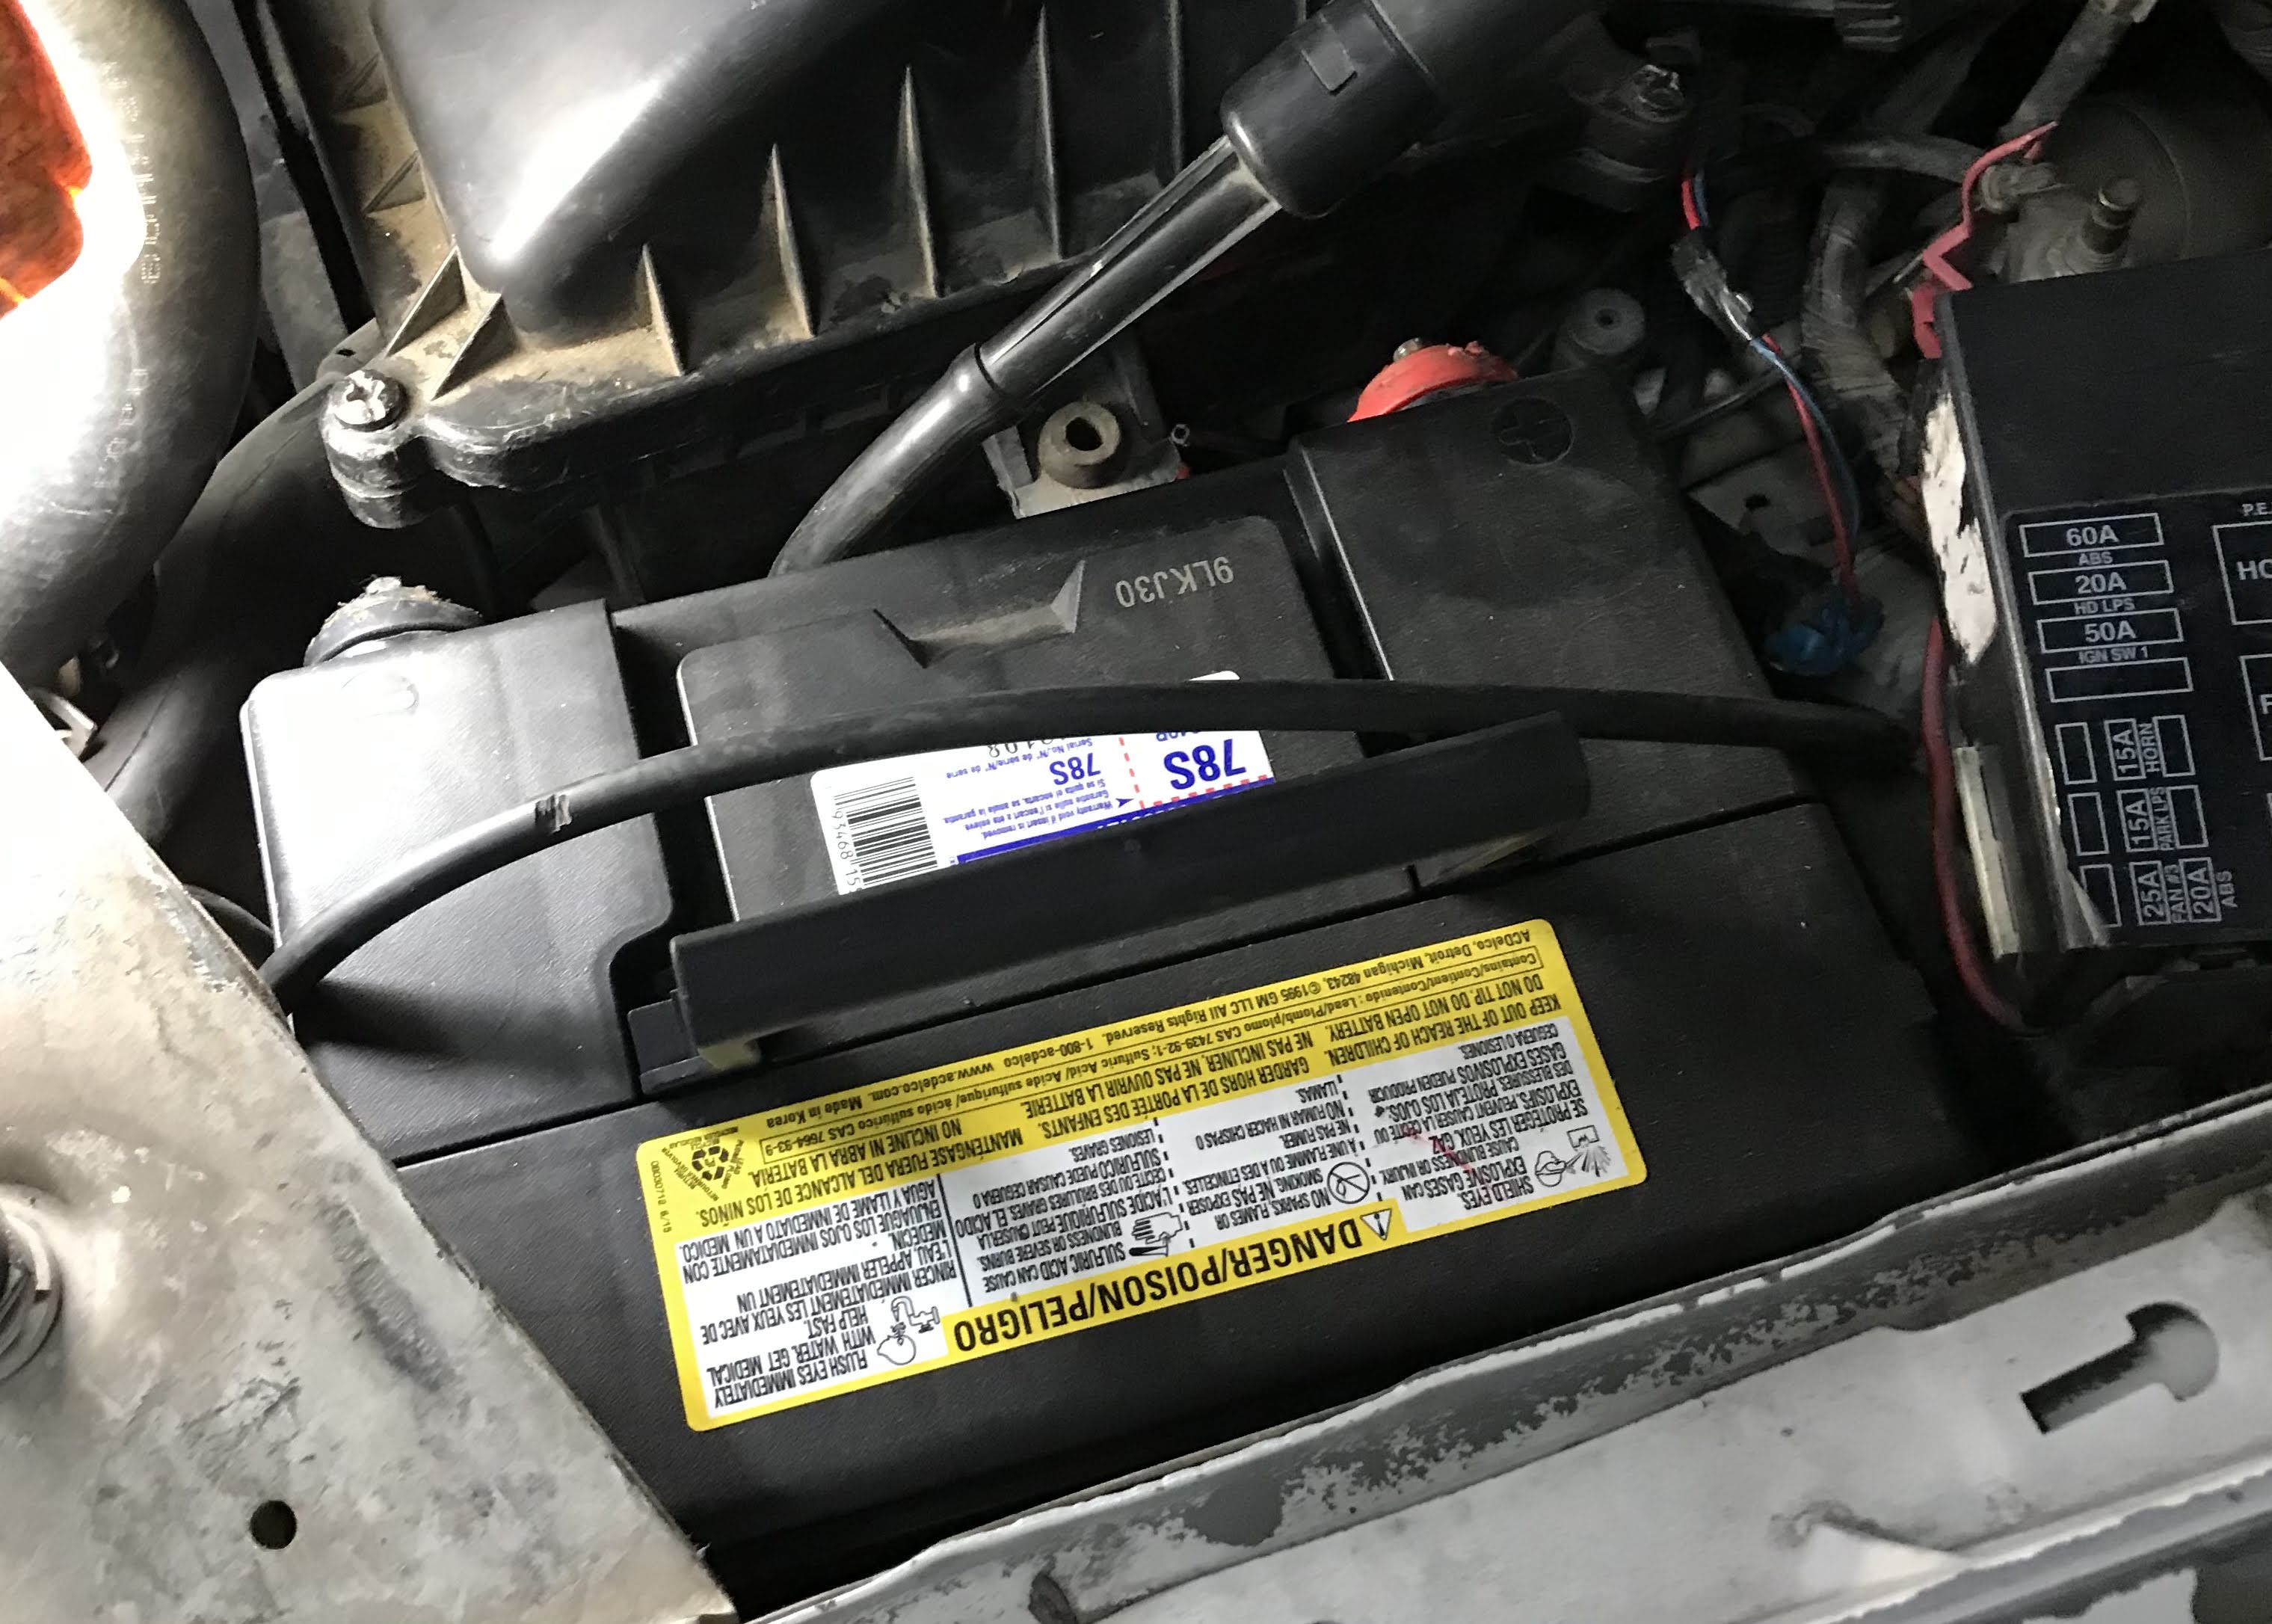
I want to make sure the battery is good and fully charged. In this case the battery on the car is the first casualty. It has been discharged to the point it will no longer accept a charge, even though it is a fairly new battery. 


I'll put one of my new batteries in place so I can make the tests. That will take care of the good, charged battery requirement. 


At this point the car will start and run. This is a good time to make a quick charging system check. All you need to do for that is connect a voltmeter to the battery, note the voltage before you start the car and after the car is running. You should see the voltage increase with the running engine. Good enough.


I'm going to take an amp probe and clamp it over a battery cable so I can see how much draw on the battery. Now you want to give enough time for everything to shut down electronically before you chase a draw and that time varies a bit. On an older car like this I'm going to think a half hour is plenty of time. You can connect to positive or negative for your reading. On this car the negative cable is just accessible with a bit of finesse so I'm using it for the test. 


If you can see, the negative cable goes two directions from where the terminal is connected to the post. We'll need to clamp on to each of the two cable sections for testing. 

Good here.


Not good here.


I have found there is excessive draw on the battery. I now have to find the source. First, look around for things that are turned on that should be off. Be suspicious of wiring that doesn't appear to be factory, added accessories such as theft alarms or sound system, look for lights that may not be turned off or that are staying on like the trunk light, the map compartment etc. 

Nothing obvious and you'll have to prepare for tracing the drain. You'll need access to fuse blocks. You'll need front doors open but you'll need to fool the car into thinking they are closed. This car monitors the door latches so I can put the latches into closed position with the door itself open. 

Now we'll be pulling fuses initially, one at a time while watching that meter. When the meter drops we are interested in that circuit. On some systems this part can be a bit more complicated but lets stay on this one. 

I usually start under the hood but end up inside the car. Let's see. 

Okay. When I remove Maxifuse #4 from the underhood fuse block #1 the draw drops to normal. 


This fuse is the power to the instrument panel fuse block inside the car. 


Fuse 28 of the instrument panel block, which is the courtesy lamp fuse. Hmm.


The lamp for the glove compartment is powered by that fuse. 

The light is at the rear of the compartment and hidden because of the items inside. The switch to cancel the lamp is at the lower rear and depressed when the compartment is closed. This one however had a foam insert that had slid out of place and a bent mounting bracket for the cancel switch. It was staying on even with the compartment closed. 


Problem found and repaired! Now I have to see about the battery.

Thanks!


Kenny@ggauto.repair


Friday, October 16, 2020

Routine Maintenance Is Not Routine

Cars have become complex marvels of engineering. Why do we still think maintaining the car should be easy and inexpensive? I can't answer that but I can take you on a walk through the reality of today. Lets take a look at a 2012 Cadillac SRX for example. We want to check the power steering fluid level. GM has a procedure.

1. Run the engine to warm the fluid to 170F.

2. Shut off the engine. 

3. Remove the intake manifold cover. 

4. Clean the reservoir and reservoir cap. 

5. Remove the cap. NOTE: Inspect the level at regular intervals. 

6. Inspect the fluid level cap stick. Ensure the fluid is at MAX on the stick. 

ME: Scheduled maintenance suggests checking fluid levels every 7,500 miles.

This warning from GM:

Caution:When adding fluid or making a complete fluid change, always use the proper power steering fluid. Failure to use the proper fluid will cause hose and seal damage and fluid leaks.

 ME: Okay. But just what is the "proper fluid"?

GM: 

Note:If the power steering fluid color is red or pink, use GM DEXRON®-VI Automatic Transmission Fluid. If the power steering fluid color is amber or brown, use GM Power Steering Fluid.

ME: If the fluid is red or pink and uses the DEXRON-VI you'll need to look on the label of the product for the verification.  


ME: If the fluid is amber or brown use "GM Power Steering Fluid." The Dexron-VI is a full synthetic ATF. You can TOP OFF ONLY with a regular type power steering fluid if you must, but the "GM Power Steering Fluid"  they are talking about here is a GM product designed for cold climate steering problems per GM bulletins 12-02-32-002A and 12-02-32-002B. Part #s 12345866 (US) or 10953484 (Canada) 

7. Add fluid if necessary.

8. Install the cap.

9. Install the intake manifold cover. 

And VOILA! You have now properly inspected and filled one power steering system in one make of car.................. 

simple. 

Thanks for reading.

Kenny@ggauto.repair


M