Thursday, December 29, 2022

Diagnostic Tech: 1992 Ford Tempo (originally posted Oct 11, 2007)

 Thursday, October 11, 2007

Diagnostic Tech: '92 Ford Tempo EECIV

We're going to need to set the Wayback Machine for 1992. Ford was using Electronic Engine Control System IV, or EECIV. By today's standards EECIV lacks sophistication but in its day it certainly performed its tasks very dependably.
On the plate today is a 1992 Ford Tempo w/2.3 engine and automatic transmission. The complaint is an intermittent Service Engine Soon light on and a high idle speed at that time. This system does store trouble codes in memory but should only turn the SES light while a code setting condition is present. In this case it just seemed to me that a test drive to verify the complaint was in order.
Initially the car ran fine. No light came on and even though I was driving in stop and go traffic there were no idle speed problems. I decided to return to the shop and just run the EECIV self-tests. When I pulled into the driveway the SES light came on. The idle speed was fine until I stopped and put the car's shifter into park position. The idle speed went to around 2000 rpm and stayed there for about three seconds before slowing back to normal. I had just verified the complaint. Time for the EECIV checks.
The car's test connector is at the left shock tower, near the battery. Technically there are two connectors. One is a single wire called the self-test input connector.
I'm going to mention that there are alternatives to retrieving codes. You don't have to use a scan tool. That being said, you will find the scan tool method more reliable with less chance of misreading a code number or accidentally clearing memory codes.
It is important to understand EECIV self-tests before using them to find a problem. Ford has the car's computer run specific tests and report back areas that failed the tests. The failures are reported as trouble codes. Running the tests improperly can give you misleading results.
A quick warmup cycle for the engine and I'll get started.
After connecting the scan tool to the test connector and entering the car data I want to start with "Quick Tests" and the Key On Engine Off tests. If a sensor fails the KOEO test then it should be repaired. You'll need a "Pass" or a no fault found condition in the KOEO self-test before any KOER (Key On Engine Running) tests can be reliably done.
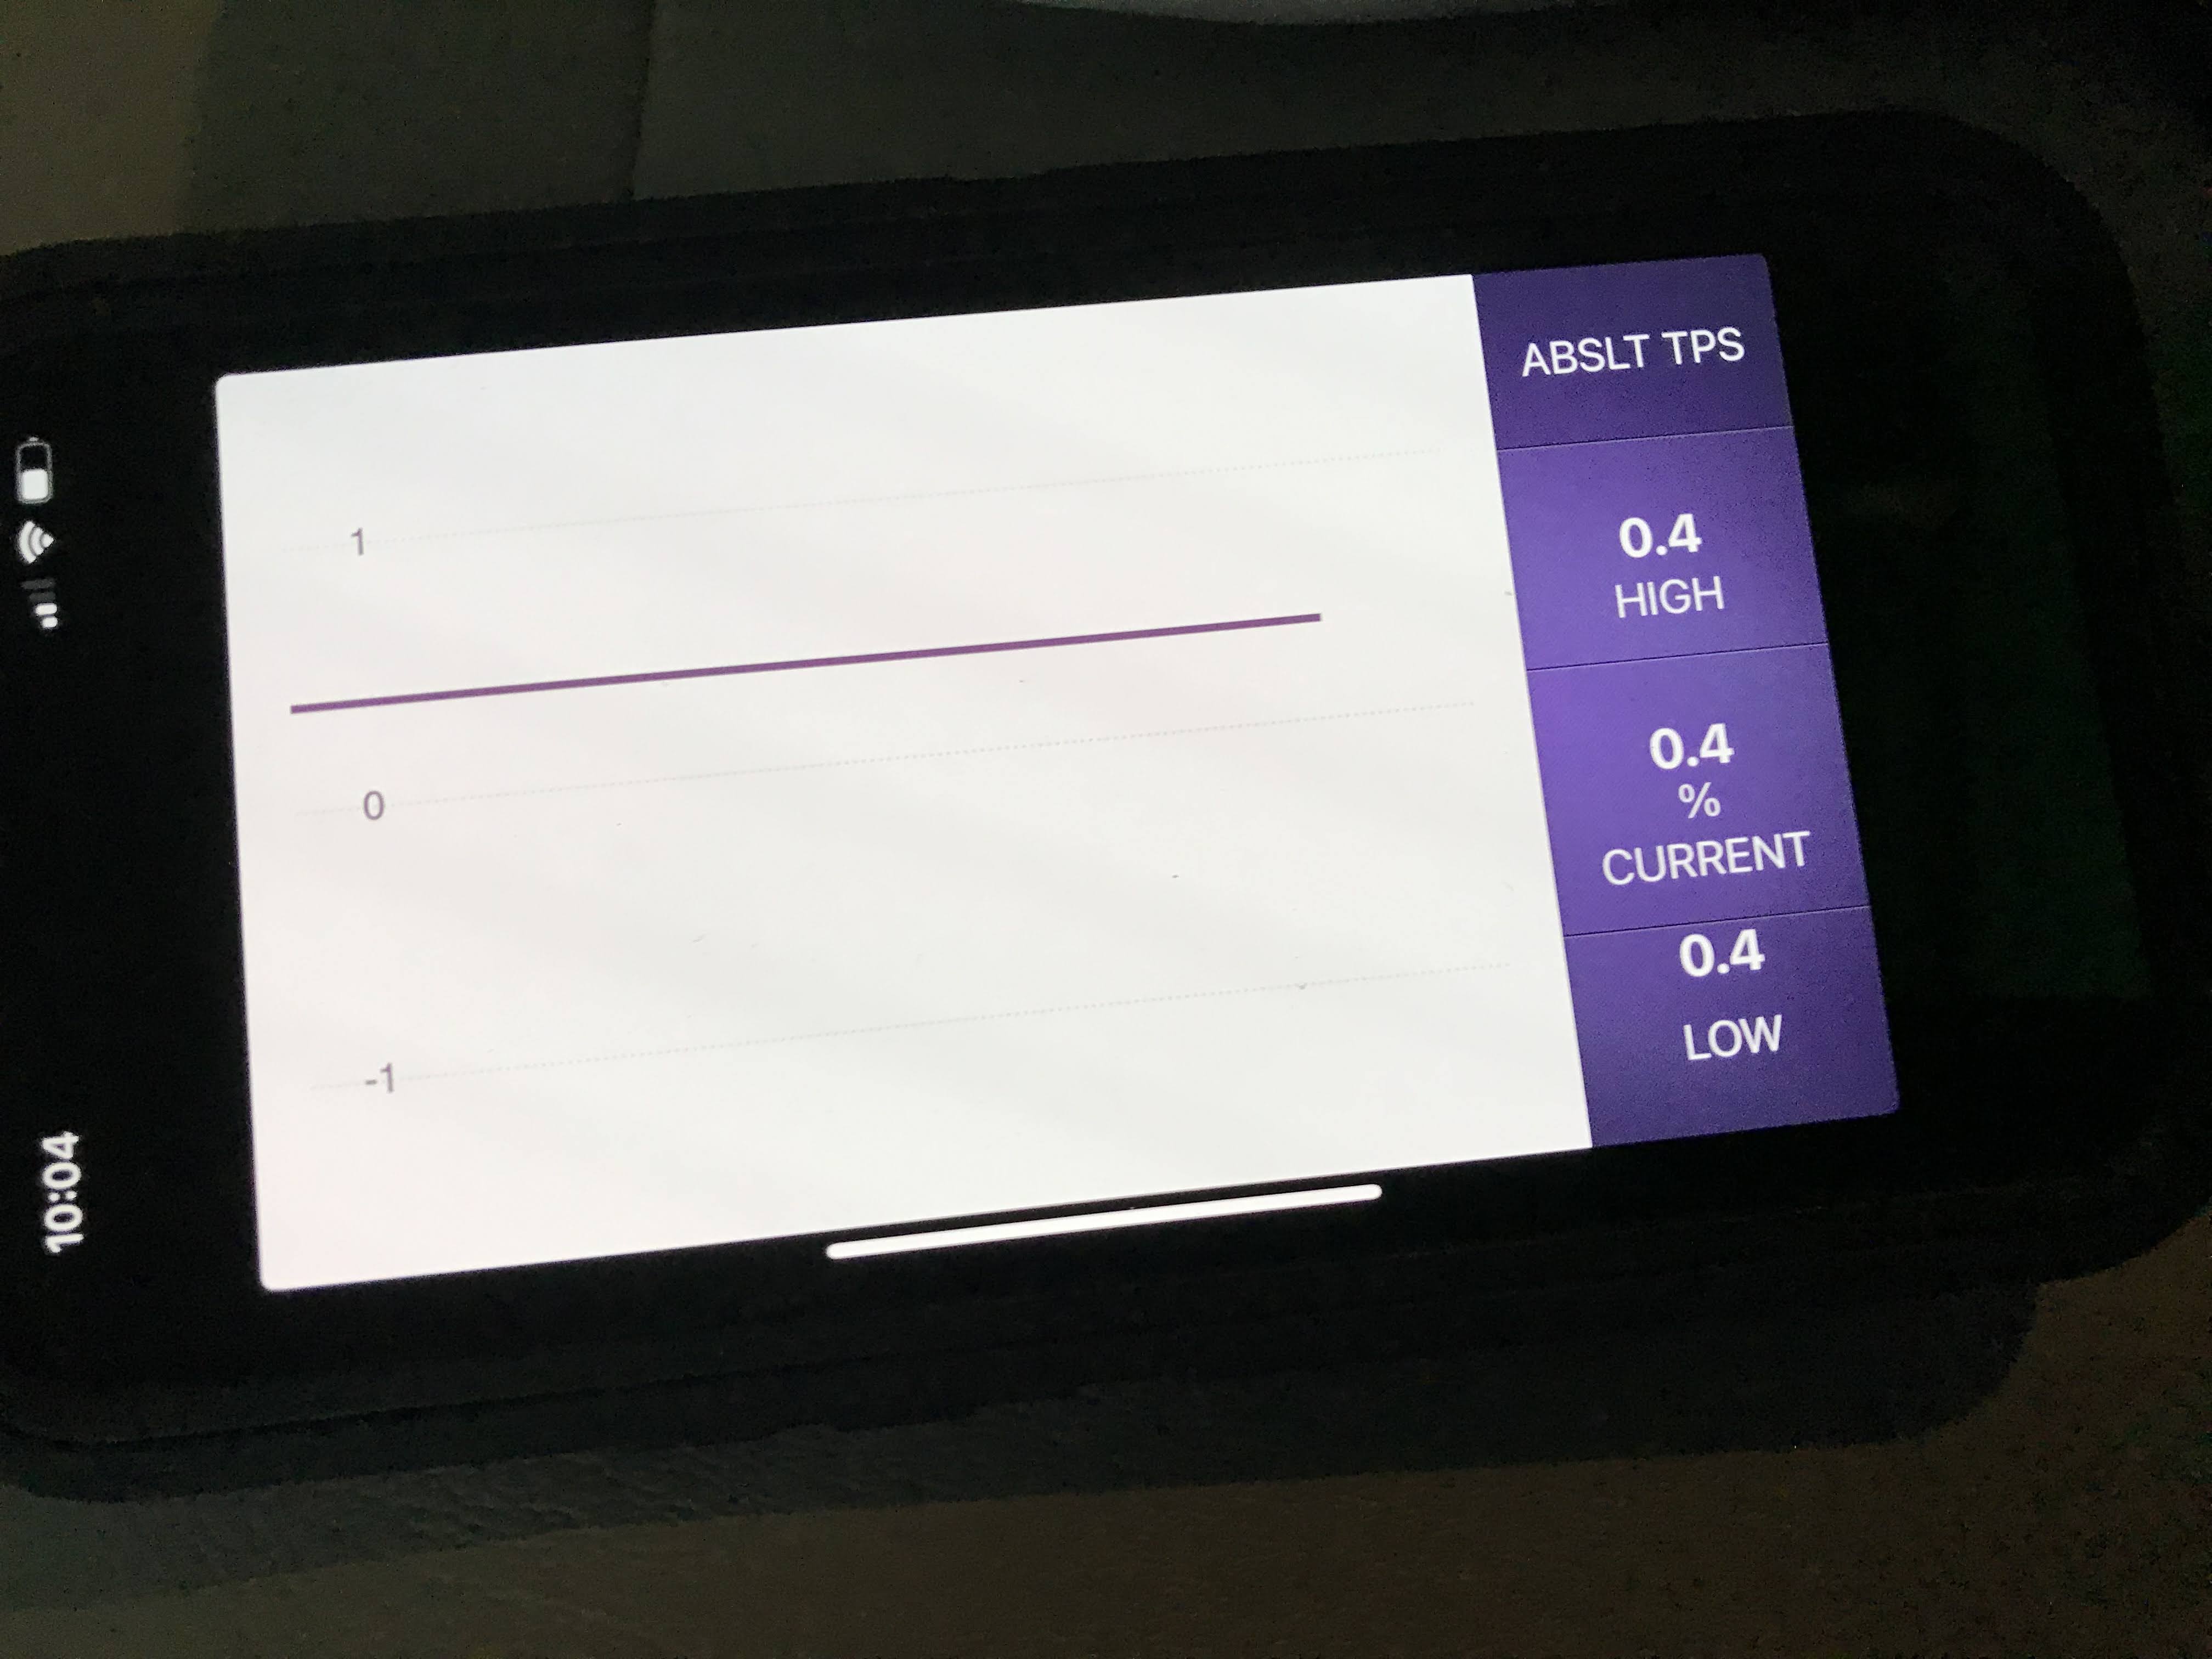
The KOEO running test results are called "On Demand" codes. In this case I get a Pass code 111 which means no problems were found. After the On Demand codes are displayed the Keep Alive continuous memory codes will be displayed. The Keep Alive, or continuous codes are codes from the car's computer memory. Codes that have set in the past. This car has a 332 in memory. A 332 indicates insufficient EGR flow. I don't think a problem with the exhaust gas recirculation system it going to be related to the high idle or even the SES on at that time. An EGR not flowing should not cause the idle speed to be higher and since the EGR is not supposed to be flowing at idle anyway I don't think it would turn the light on at that time. I'm going to move on to the KOER tests because that test should be done before getting too involved with Continuous codes. The KOER test will reveal any sensor failures that happen during the test.
The KOER test codes indicate a 332 again. This time I know the EGR failed a test in real time and currently has a problem. Again though, I don't think it is related to the idle speed problem. Two more codes do indicate a problem with idle speed control, a 412 and 411. These codes indicate the car's computer not being able to control the idle speed. These codes do not store to memory so without running KOER tests we would not see them. If you think that was a lot of trouble to find that something is wrong with the idle speed you have a point. What was learned though is that the several sensors that contribute to the computer choosing an appropriate idle speed do pass self-tests. That means I should start by concentrating my efforts in testing the computer's ability to control the idle speed. In other words, I've learned that the inputs to the computer are likely to be fine but there is a problem with the idle control output circuit.
It's a good idea, I think, at this point to check the base idle and minimum air adjustment. Before any throttle adjustments are made I want to be sure I have a clean throttle plate. I'll remove the air intake hose, the MAF and the air cleaner cover as a unit. The throttle plate actually doesn't look too bad. It's pretty clean on the air cleaner side. The air filter looks good and the air cleaner housing was properly fastened.


When I open the throttle fully and look past the plate I can see major carbon buildup. I can even see why the EGR flow is low. The EGR passages are just behind the throttle body and fully plugged with carbon. The best thing to do here is remove the throttle body, remove the EGR valve and do some cleaning.


While we are in the neighborhood, this is a good time to remove the Idle Air Control (or Air Bypass Valve) and clean that passage as well. The engine computer uses this valve to control the amount of air that bypasses the throttle plate. The amount of air allowed controls the engine idle speed.

Once everything is clean and reinstalled it is a good idea to clean the MAF sensor or at least see if it needs cleaning. Two tamper proof screws hold the MAF to the MAF housing. A torx T20H will fit the screw heads. Carefully remove the MAF from the housing. With a magnifying glass and a good light you can look for dirt on the two tiny wires at the bottom of the sensor. If you see dirt, carefully clean it. These days there are spray MAF cleaners on the market. That wasn't always the case so I still use the same Berryman Spray Carb Cleaner that I always did. For stubborn spots I use a Q-tip as well.

This particular MAF looked pretty clean so after reinstalling it I let the engine warm up again. I know that I now have a clean throttle, a clean MAF, a clean IAC and a clean EGR passage but what I don't know is if I've fixed any of the complaints. It's time to run the KOER test again.

After getting the same results with the KOER self-test as before all this work, I decided to see just what was happening at the Idle Air Control as far as the computer control was concerned. The voltage at the IAC signal wire should roughly match the position being commanded by the computer. A command to open the valve 34% would have 3.4 volts. As a load is placed on the engine the command would increase, so a voltmeter could be used to check the command to see if the computer is trying to slow the idle speed during the high idle problem. Another method would be to disconnect the IAC wire connector from the valve and see if the engine slows. You see, the valve is spring loaded to return to minimum air position without a voltage command to the contrary. In fact, it is by disconnecting the IAC and adjusting the throttle position stop screw that minimum idle air is adjusted. All I have to do is wait for the high idle problem to appear. After a few minutes of running time the engine idle speed begins to race. When I disconnect the Idle Air Control the rpms do not change. The IAC valve is bad. I suspect a vacuum leak within the valve is the problem.

After replacing the IAC valve I now have no more racing idle and no more idle control related fault codes. One thing very good about the EECIV testing method is that I can rerun the test after a repair to verify the problem is fixed. The idle problem is fixed! BUT the EGR problem remains. I still have a 332 fault code in the KOER test.

During the KOER self-test the ECM will open the EGR vacuum regulator solenoid very briefly. This allows manifold vacuum to pass through the solenoid to the EGR valve. The vacuum should open the EGR valve. The pressure in the exhaust tube that runs to the EGR valve is measured by the PFE sensor. If the ECM has commanded the EGR solenoid to open yet does not see the PFE sensor voltage indicate a pressure change the ECM will assume the EGR is not working and will set the 332 fault code.


For testing purposes I like to use a length of vacuum hose and bypass the solenoid, feeding the vacuum directly to the EGR valve with the engine running at idle. If the engine nearly stalls then the valve is passing plenty of exhaust flow.

I started to do that here but noticed that the hose that feeds pressure from the EGR exhaust tube to the PFE sensor was broken. With a broken hose the PFE sensor would not be able to monitor the exhaust tube pressure change and would indeed set the 332 code. A replacement hose and another KOER test and this time the repairs were done! A complete system pass. No more light, no more high idle, no more codes!

Kenny@GGAuto.repair

Thursday, December 8, 2022

Diagnostic Tech: 2000 Dodge Dakota (original post February 2008)

 Sunday, February 17, 2008

Diagnostic Tech: '00 Dodge Dakota

A 2000 Dodge Dakota SLT, 4.7N engine and automatic transmission came in with a complaint of stalling at idle. It was a few days before I could schedule the job but the truck was left anyway because the owner said he could not drive it with the stalling condition. Shuffling the truck in and out of the shop each day it was easy to see that the truck would stall if the accelerator was released but would remain running if the accelerator was applied slightly. By the time I got around to checking the truck the symptom was gone and the truck would idle without stalling.

Idle control is sometimes a numbers game and even though the truck no longer stalled I could still take a look at some numbers and see what may have caused the problem. There are some important numbers for idle control on this truck. The throttle position sensor voltage is best at 0.65-0.90 volt range and the idle air control counts should be between 10 and 24. These numbers are easy to check with a scan tool. Warm the engine fully and note the readings.

When I checked this truck I found a tps signal at 0.61 and an iac count of 125! The higher the iac count, the harder the idle control is working to maintain the rpm. In this case the iac was being commanded very high just to be able to maintain an idle of 608 rpm.


From the clues, it was likely the throttle bore would need cleaning and some slight throttle adjustment to bring the tps into range. I cleaned the throttle body first and let the engine warm before taking a look at the iac counts again. I want you to see a picture of the throttle before a cleanup. Notice how little carbon buildup it takes to limit minimum airflow and cause an idle problem.


After simply cleaning the throttle bore with some spray carburetor cleaner and a shop rag the iac counts dropped to 38. So now the iac was finding it much easier to maintain 608 rpm. The tps was still slightly low. When I adjust the minimum throttle opening it will raise the tps voltage and the iac counts should drop to compensate because the iac will have to close slightly to drop back to 608 rpm. I ended up with everything right, by the numbers!


Kenneth Hayes
G&G Auto Repair


Friday, December 2, 2022

Diagnostic Tech: 2011 Toyota RAV4

 The complaint here was that several warning lights were on. The "check engine", "traction control" and "4x4" were on steady as I drove it in. 


The customer said the lights all came on at the same time. Any engine performance fault seen by the system would also turn on the other lights so I expected to see an engine performance problem, perhaps a misfire. Warning lights turn on when a computer has seen a problem that warrants attention. A trouble code related to the fault should be stored and you will need that code if you want to know what the computer is trying to have you check. I did find an engine performance related code, actually two. 


 The P0171 means the fuel mixture was too lean, not enough fuel or too much air. P0101 means the measured airflow at the mass air flow sensor doesn't match what the computer expects to see based on other inputs. C1201 is an empathy code. It means the engine control fault has placed these other systems into fail-safe. They will revert from fail-safe once the performance problem is repaired. The problem appeared soon after a service/maintenance job so it seemed a good idea to look around for something related to that before getting more involved, and there it was. A small breather tube had been left disconnected from the air intake hose. 


That open hole allowed air to enter the engine downstream of the air flow sensor. The extra air was setting the lean code and the air flow code. Now you can't just do a fix and be done. Eventually the computer would figure out the problem was fixed and turn the warnings off but that could take quite some time. It would have to see the monitors run and see that the same problem did not occur for several cycles. (On that note, never disconnect your battery to clear codes. Never.) You have to tell the computer the problem is fixed. Clear the stored codes with the scan tool. The computer will still run tests and will still watch for faults but the lights will be off until there is a problem. Many cars now store the codes in a memory called "permanent" codes that can't be cleared until the computer verifies the fix and clears them on its own even though the lights are now out. 

Before clearing codes though, I want to show you that more than codes are stored in the system. The conditions at the time of the failure are stored as a frame of sensor data. Once the codes are cleared the data is gone as well so lets look now before we clear. 


Given the conditions if I didn't know the air flow was incorrect I might suspect a fuel delivery problem. The point though is that there are several ways the computer can store and aid in your diagnostic journey. Use them. 

I cleared the system and all is good. 

Thanks for reading!

Kenny@ggauto.repair


Tuesday, November 29, 2022

Diagnostic Tech: '97 Olds Cutlass Supreme (Originally posted July 22, 2008)

 Tuesday, July 22, 2008

Diagnostic Tech: '97 Olds Cutlass Supreme

This Olds Cutlass came in as a no-start. The customer tried to repair the car by replacing the ignition switch but when it still wouldn't start he had the car towed in. I found the battery dead and even if I didn't know someone had been working on the car it was pretty obvious when I opened the driver's door.


I guess the car owner didn't want to waste a lot of time putting things back together in case he had to scrap out the car (grin). You may think that an ignition switch is where the key goes but that is an ignition lock. The actual ignition switch is electrical and mounts to the top of the lower portion of the steering column. In the picture above it is left hanging below the brake pedal. Since the switch has been removed and only one bolt is left holding the steering column in place I can drop the column down and show you what you'll see in the switch mounting area with the switch removed.


The long metal rod is an actuator for the switch. When you turn the ignition lock back and forth the actuator moves back and forth. The end of the rod you see sticking up fits into a slot in the ignition switch. The ignition switch body fastens solidly to the column with two machine screws and when the actuator moves it causes the inner portion of the switch to move creating paths for voltage to operate the various electrical systems in key on, accessory and crank positions.

Since the switch is hanging there so handy I can insert a small screwdriver into the slot and operate the switch using the screwdriver as an actuator.

When I slide the switch to the crank position I should get ignition voltage to the yellow wire at the switch, and I do. But, I don't get starter engagement. The antitheft system on this car uses a small resistor pellet in the key. Even though I'm not using the key to actuate the ignition switch the key must be in the lock cylinder so that the theft deterrent module can read the pellet resistance. If the resistance isn't correct then the module won't enable the starter. The trouble here is that since I already know this I have the key in the lock cylinder and still have no starter engagement.

I have power at the yellow wire when the switch is in crank position. This power should show up at the starter relay fuse #11 in the fuse block. It does and the fuse is good. From the fuse the power should go to the transaxle range switch, through the switch in park or neutral to the theft deterrent relay. Now the theft deterrent relay and the theft deterrent module are accessible (just barely) if you remove the glove compartment. Feel around in the area directly above and you'll find them. There are metal screws to mount them in place. Now it could be that the car just needs a starter and the cranking voltage is reaching all the way to the solenoid. It could be that the range switch is bad and the voltage is never reaching the relay. What I'm going to do though is test the key resistance since all of this wiring is still laying there handy in the column area. If you look closely at the wiring coming from the steering column you will see what first appears to be a large orange wire but if you follow the wire to its connector at the lower end you will see that it is two small white wires covered by an orange sheath. Disconnect those two wires from the car harness and place your ohmmeter test leads on the column side of the harness. With the ignition key in the lock cylinder you should get a resistance reading that matches the resistance of the key pellet. You can measure the pellet resistance directly by placing a lead on each side of the pellet, one on one side of the key, one on the other.


This key pellet measured 1,100 ohms at the key but infinity at the wires. That means that either the lock cylinder isn't reading the key or there is an open in the wiring. Not reading the key can be a bad lock cylinder but it can also be a bad key with the pellet worn too badly to make good contact within the cylinder. There are 15 legitimate key codes, each with a different resistance range. When you take the key to your GM parts department they can place the key into a tester that will check the resistance and tell them the pellet code number. If it is the key that is not good it should show up while trying to read the pellet code. If you know the resistance you can tell the parts person the pellet code number even if the key doesn't read well enough for his tester to show it. There is a chart for this.


Now to verify that the antitheft system is the problem and to give you a better idea of where to find the theft deterrent relay I have removed the glove box and the metal screw mounting the relay so that the wiring can be accessed. The two yellow wires should be powered with the switch in the crank position. They are. The yellow/black wire should be grounded by the theft deterrent module to enable the starter. It is not being grounded because the module doesn't see the correct key pellet resistance.


You could jumper the big yellow wire to the big purple solenoid wire and the starter would engage with the switch or you could jumper a ground to the yellow/black wire and the starter would engage with the switch but the car wouldn't run because there is a fuel enable circuit as well. This is the point though where the rumors are true. If you know the resistance that the module is looking for you can place a resistor of that size in the car harness connector of the two small white wires and the system will allow fuel and starter to be enabled. Another interesting note, the modules are not programmed when new. Each new module will "burn" in to the first resistance measurement it sees on a crank and that will be what it looks for each time.

Since the goal here is a proper repair what I need to do next is remove the turn signal switch. With the turn signal switch out of the way I'll be able to see the two white wires at the lock cylinder. I expect to see one of them is broken. This is very common because the flexing of the wires while turning the key over the years eventually causes a wire to break. Sometimes the break will be inside the insulation and not seen but can be found by carefully pulling on the wires.

I won't go through the procedures for turn signal switch removal. They can be found in any good repair manual. You'll need a couple of special tools. One for removing the steering wheel and one for removing the steering wheel lock plate.

I didn't disconnect the turn signal wiring or airbag clockspring but pulled enough slack to get them out of the way. I can see the broken wire.


This lock cylinder will need to be replaced. I usually cut the connector off at the lower end and pull the wires up through the column. A trip to the friendly GM dealer gets me a new lock cylinder and key with good wiring and the proper resistor pellet.

To feed the wiring of the new lock cylinder down through the steering column I usually run a piece of mechanic's wire down through the column tube until it has several inches sticking out at the bottom. At the top, loop the metal wire to the lock cylinder wire connector, tape it all in place and pull the wire down through the steering column.


After that it is just a matter of putting everything back together. As a plus, the car even starts and runs now!

Kenneth Hayes

AKA Deranger

Monday, November 28, 2022

Diagnostic Tech: '02 Olds Aurora (originally posted Oct 22, 2007)

 Monday, October 22, 2007

Diagnostic Tech: '02 Olds Aurora

A 2002 Oldsmobile Aurora was in recently with two complaints. The headlights would dim intermittently and there was a Malfunction Indicator Light (MIL/Check Engine Light) on. The car had the 3.5 engine and all the luxury features you would expect in any top of the line automobile.

After spending some time trying to find a problem with the lights and having no luck, I decided to move on to the MIL complaint and come back to the lighting problem later. A lot of time can be spent checking a system but when the complaint can't be verified it can easily become time wasted. It's better to check for the cause of a problem while the problem is present.

I pulled a P0410 trouble code from the car's engine control module.

A P0410 will set when the engine computer has commanded the AIR pump on and the AIR valve solenoid open but does not see the O2 sensors go lean as they should when extra air is being pumped into the exhaust.

"An AIR pump?", you ask. Yes, an AIR pump. The modern version of the old belt driven smog pump is still alive if not well on many GM vehicles. The AIR pump no longer needs a belt. It is an electric motor and tucked away under the left front fender on the Aurora. The engine computer will provide a ground to the pump motor for testing or for normal system use. With a ground the motor should pump fresh air which is piped to a vacuum controlled valve at each exhaust manifold. With the vacuum control solenoid grounded by the ECM the vacuum will reach each valve and open them, allowing the fresh air to enter the exhaust and accelerate the catalyst operation. The fresh air entering the exhaust as it is commanded should lower the O2 sensor voltage to a lean condition. The lean condition should change the fuel trims. The engine computer does monitor the voltage on the command wire to the solenoid and will set a circuit electrical code if the voltage does not match the command. This means that when you see a code P0410 as a stand-alone code, you aren't likely to find an electrical problem.

One very common problem with the GM pumps is that the design of the air intake hose allows water to be drawn into the pump housing. This water will eventually cause the pump motor to be very hard to turn and even freeze up. GM Technical Service Bulletin 02-06-04-024G contains the related information. A replacement pump and an updated hose design to prevent the water contamination are available as a kit. The part number is 19515548. The original air intake hose filter is open to road splash from water while driving.


The new design is covered on the inner fender side and open to the engine compartment near the air filter housing. The install is fairly easy. The air filter housing and inner fender liner must be removed for access.
After finding the pump motor on this car to be water damaged and very difficult to turn I replaced it and the hose with the update kit.
While looking for the GM TSB and part number I had noticed something interesting. GM TSB 01-06-03-007A concerns headlamp and interior lights dimming in cold weather. The bulletin states that a revised alternator is available to fix complaints of headlamp dimming in cold weather and perhaps the blower speed slowing or changing pitch intermittently. The problem is due to intermittent low voltage. Engine vibration may cause the alternator to lose field continuity and the voltage regulator to reset. Now when the car owner dropped this Olds off he did say that the alternator had been replaced at another shop in an attempt to fix the light problem. I wasn't going to suggest yet another replacement. What really caught my eye is that the bulletin does go on to say that short term voltage drops with light flickers or fluctuation is a normal condition with high electrical demand AND that even after installing the revised alternator the car will exhibit short voltage dips and headlamp dimming DUE TO THE AIR PUMP CYCLING. Now just how much worse would this be if the air pump motor was water damaged and near frozen, causing much more current draw? It looked like the installation of the new air pump was going to help with the light dimming problem.

As important as it is to verify a complaint before starting a diagnostic job is verifying a repair after the work is performed. After clearing the trouble code a short test drive was in order. Everything appeared to work fine with no MIL on but a P0410 is a two trip code. In other words, if the air pump failed the monitor test during this test drive no code would be set and no MIL turned on. It would take a second ignition cycle and test drive to set a code. The air pump would need to fail the self test on two trips. To make things move along better and get the most of the test drive I usually take a scan tool along and record the ecm data.

A look at the scan tool data showed me that the air pump test had run and had FAILED during the drive. I would have liked to include the scan data capture in this article. You could clearly see the ecm activate the pump and solenoid three times and three times see no lean signal from the O2. It then gave up and logged a failure. Yes, I would have truly liked to include that but I did a software update on that scan tool earlier tonight not realizing it would clear the record memory.

Back in the shop, I used the command function of the scan tool to command the air pump on and verified the ecm could provide ground and the pump was fully functional. If the pump was working as commanded then the shut-off valves were the next place to check. Vacuum from the intake manifold is piped to the vacuum solenoid. When the ecm grounds the solenoid it opens, allowing manifold vacuum to reach the shut-off valves. The vacuum should then open the valves allowing the fresh air from the pump to reach the exhaust system. If the solenoid has an electrical problem the ecm should detect that and set a related solenoid circuit code. There was no circuit code so I used a simple vacuum gauge to verify 18" of vacuum to the solenoid. With the engine running and the vacuum gauge at one shut-off valve port I grounded the solenoid and got only 5" vacuum. I blocked the other shut-off valve port and tried it again. This time I had 18" of vacuum. The rear-most (right side) shut-off valve was bad and losing vacuum. With the vacuum loss, neither shut-off valve could open so no air from the pump was reaching the exhaust.


I actually do have scan data on the test drive done after replacing the shut-off valve. It was saved to the pc after being captured on a different scan tool so escaped the fate of the first data capture.

You can see the O2 sensor go lean when the pump is on verifying the system is operational.


I love my job!

Kenneth Hayes

aka Deranger

Tuesday, July 26, 2022

Let's Check the A/C! 2000 Taurus

 I can hear the clutch cycling, radiator fan running and no unusual noises. I usually set the A/C for coldest air temp and put the thermometer in the center vent. This one is definitely not reaching full potential. I'm looking for the temperature to reach 50F or better and I don't see that happening here. Roughly at 75F and I have the constant clutch cycling. 


I suspect there is a low refrigerant situation. Compressor clutch will cycle off if the pressure gets too low or too high. The scenario would be compressor clutch engages, low side pressure drops too much, clutch disengages. You can verify system problems with a set of gauges and monitoring both high and low side pressures. In this particular case though I think the best move now would be verify the system charge. Time to recover the refrigerant and see just how much is in the system. Something that I should mention is not possible with a "charge kit" from your local parts supplier. 

Initial pressures are about 75. How much refrigerant is that? You can't answer the question from system pressure. You have to recover the refrigerant and weigh it. The recovery machine does that job very well. 


We recovered 10 oz of refrigerant so roughly one-third of a full system charge was present. Set the machine to a correct charge and fill the system.


Now we have A/C!


With no obvious leaks we'll depend on the UV dye in the refrigerant to do its job if the charge gets low again over time. 

Thanks for reading!

Kenny@ggauto.repair

Friday, June 24, 2022

Actron U-Scan (screenshots)

 One of my favorite things about the U-Scan is that you can run the app on iPhone, iPad, Samsung tablet or Samsung phone. Shots from all. 


Thanks for looking!

Kenny@ggauto.repair

Alldata Mobile

Alldata Mobile puts the power of the Alldata Repair information system on your tablet and combines it with a wireless OBDII dongle for basic scan and code capability. There are certainly times this will save time and steps. There would be a lot to cover here but lets just post some screen shots and let me save the typing for next time. 


Thanks!

Kenny@ggauto.repair